Set-Up & Care

What's in the Box?

  1. Outer pot (the stylish one you show off)
  2. Inner pot (where your plant actually lives)
  3. Legs / frame (*depending on design)
  4. Smart water level sensor (flashes red when your plant is thirsty)
  5. Cotton wick (lets your plant “sip” water as it needs)

Quick Setup

  1. Unbox it – Take out your pot and all the parts.
  2. Install the cotton wick – Thread the wick through the holes in the inner pot so it hangs down into the water reservoir. This is what lets your plant drink steadily.
  3. Find the brain – At the bottom of the pot is the smart water sensor.
  4. Power up – Add 2x AA batteries (not included) and pop the sensor back into place.
  5. Plant your plant – Add soil and your leafy mate.

👉 Need inspo? Click here for our plant recommendations.

Fill with water

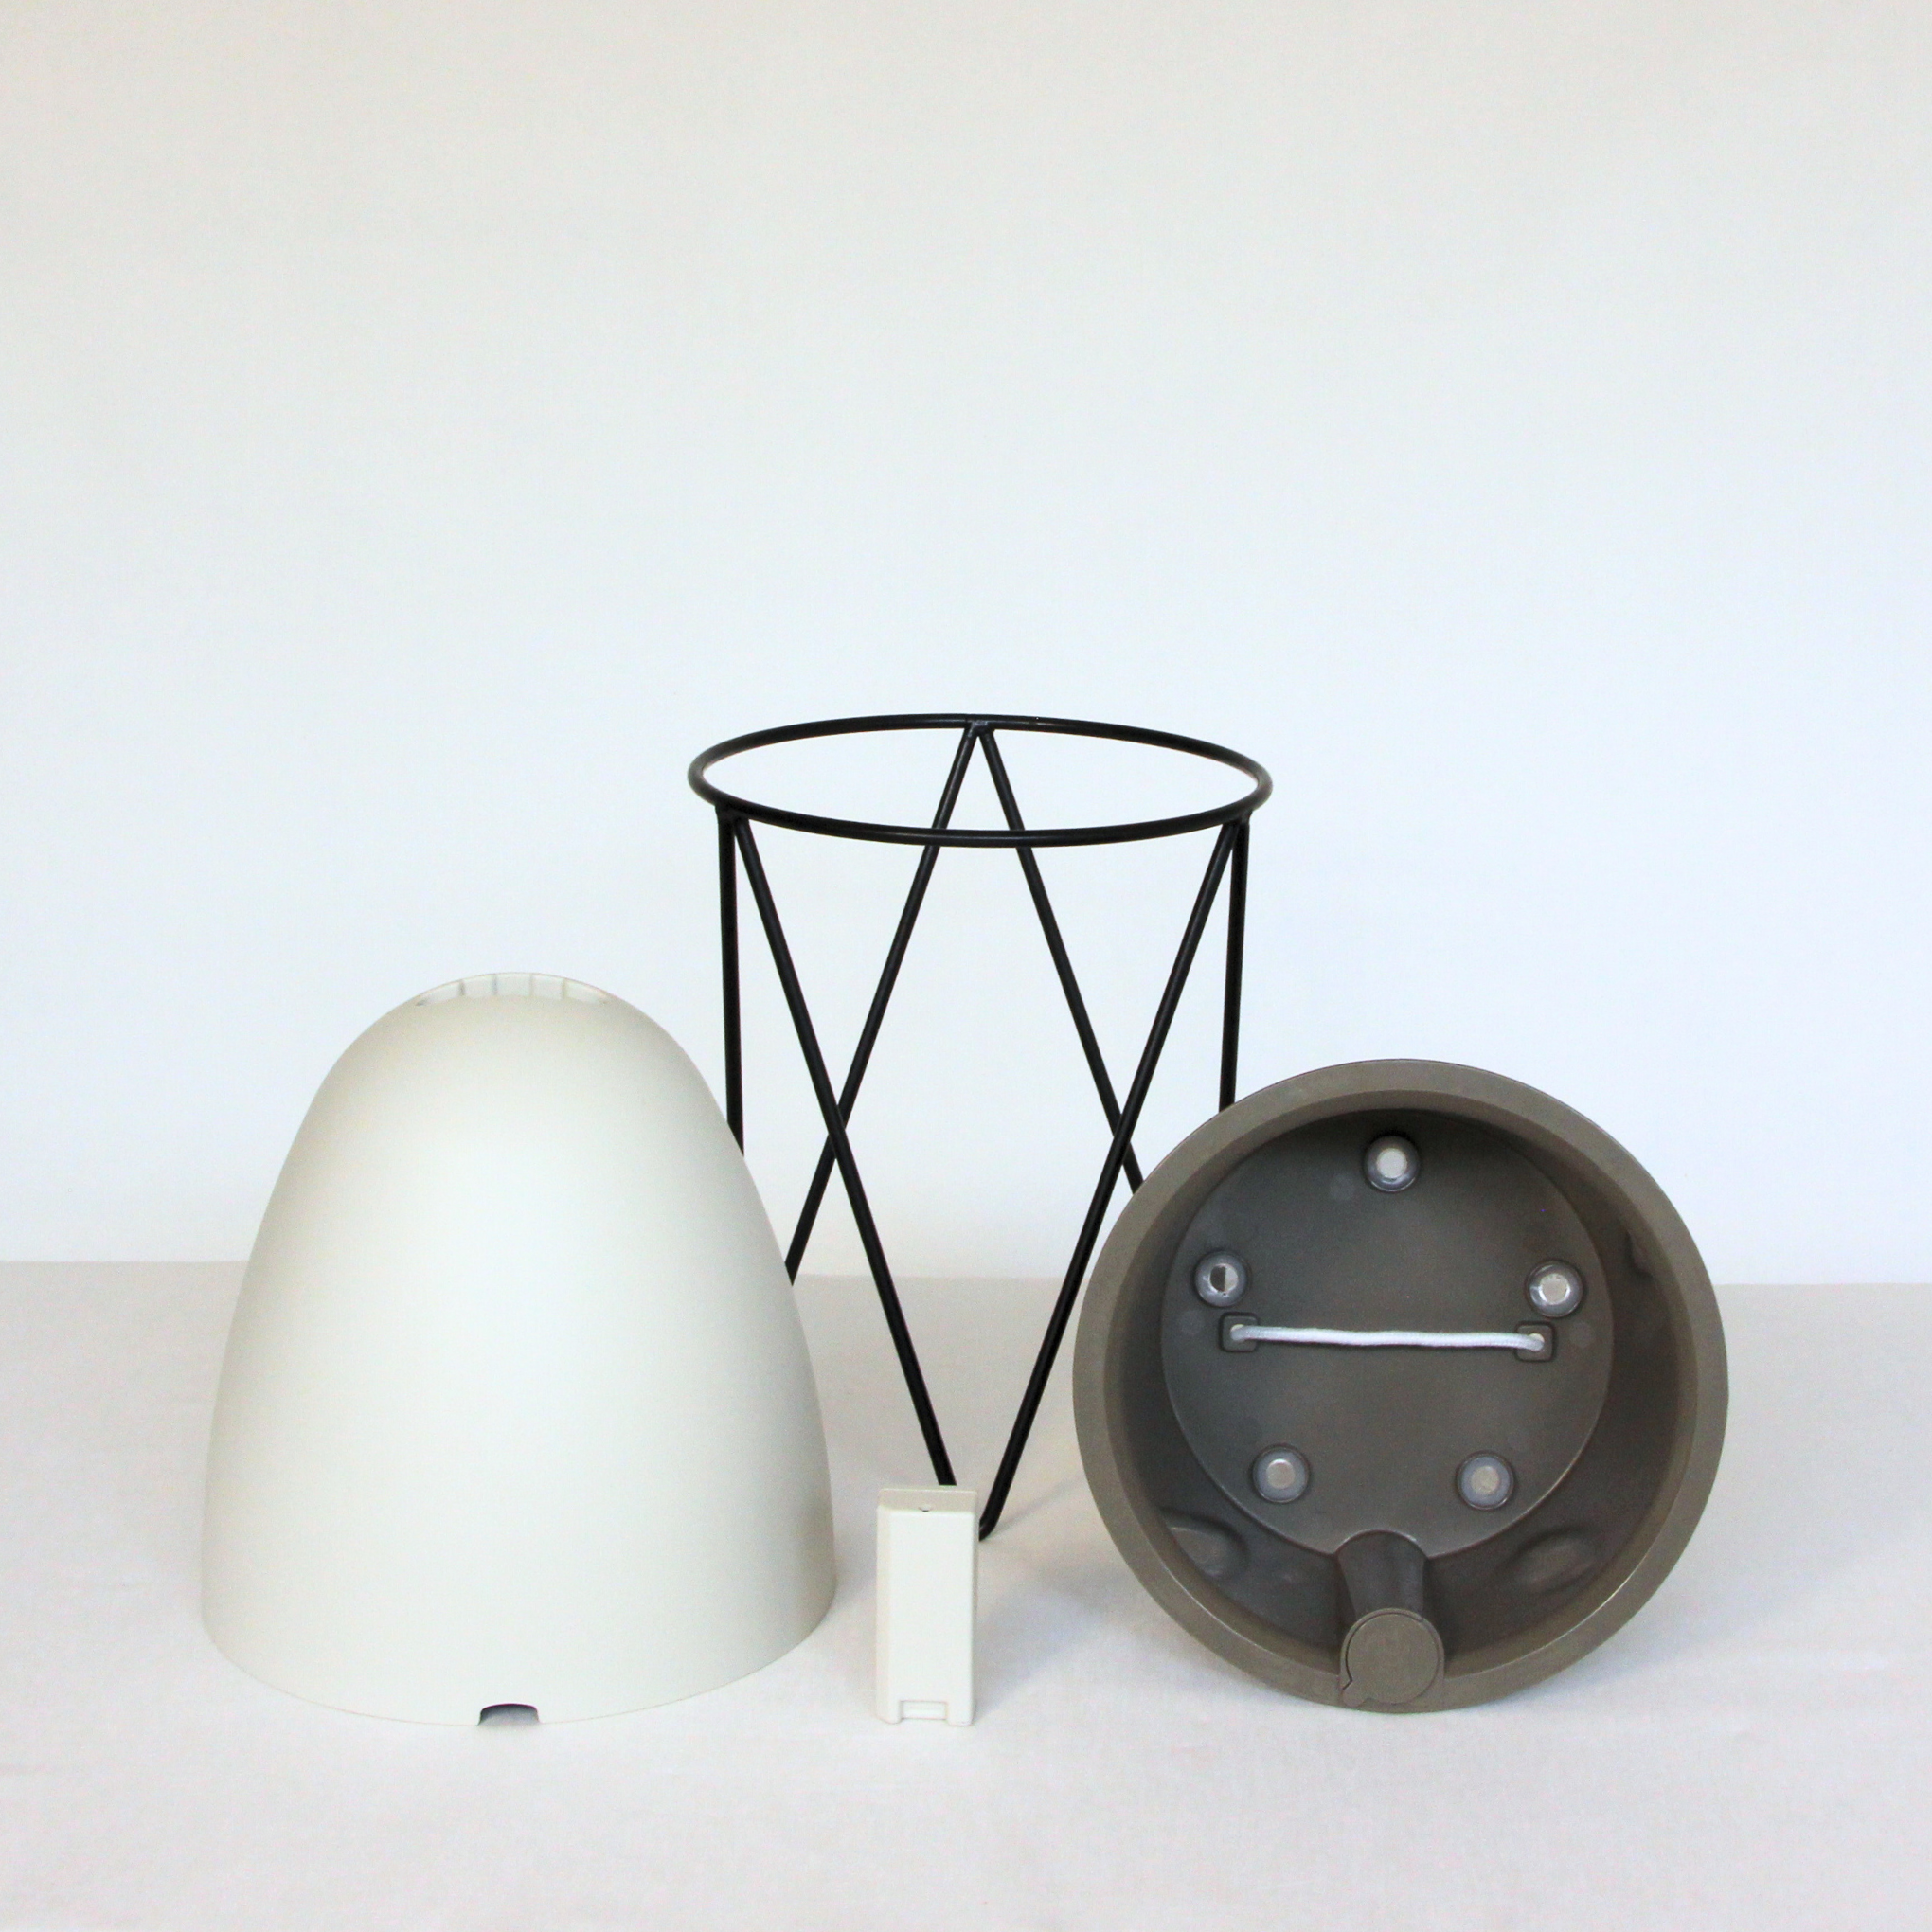
You’ve got two options:
1. Top fill port: Pour water straight through the small hole on the rim.
2. Manual fill: Lift the inner pot and fill the outer reservoir to the water line.

Then:
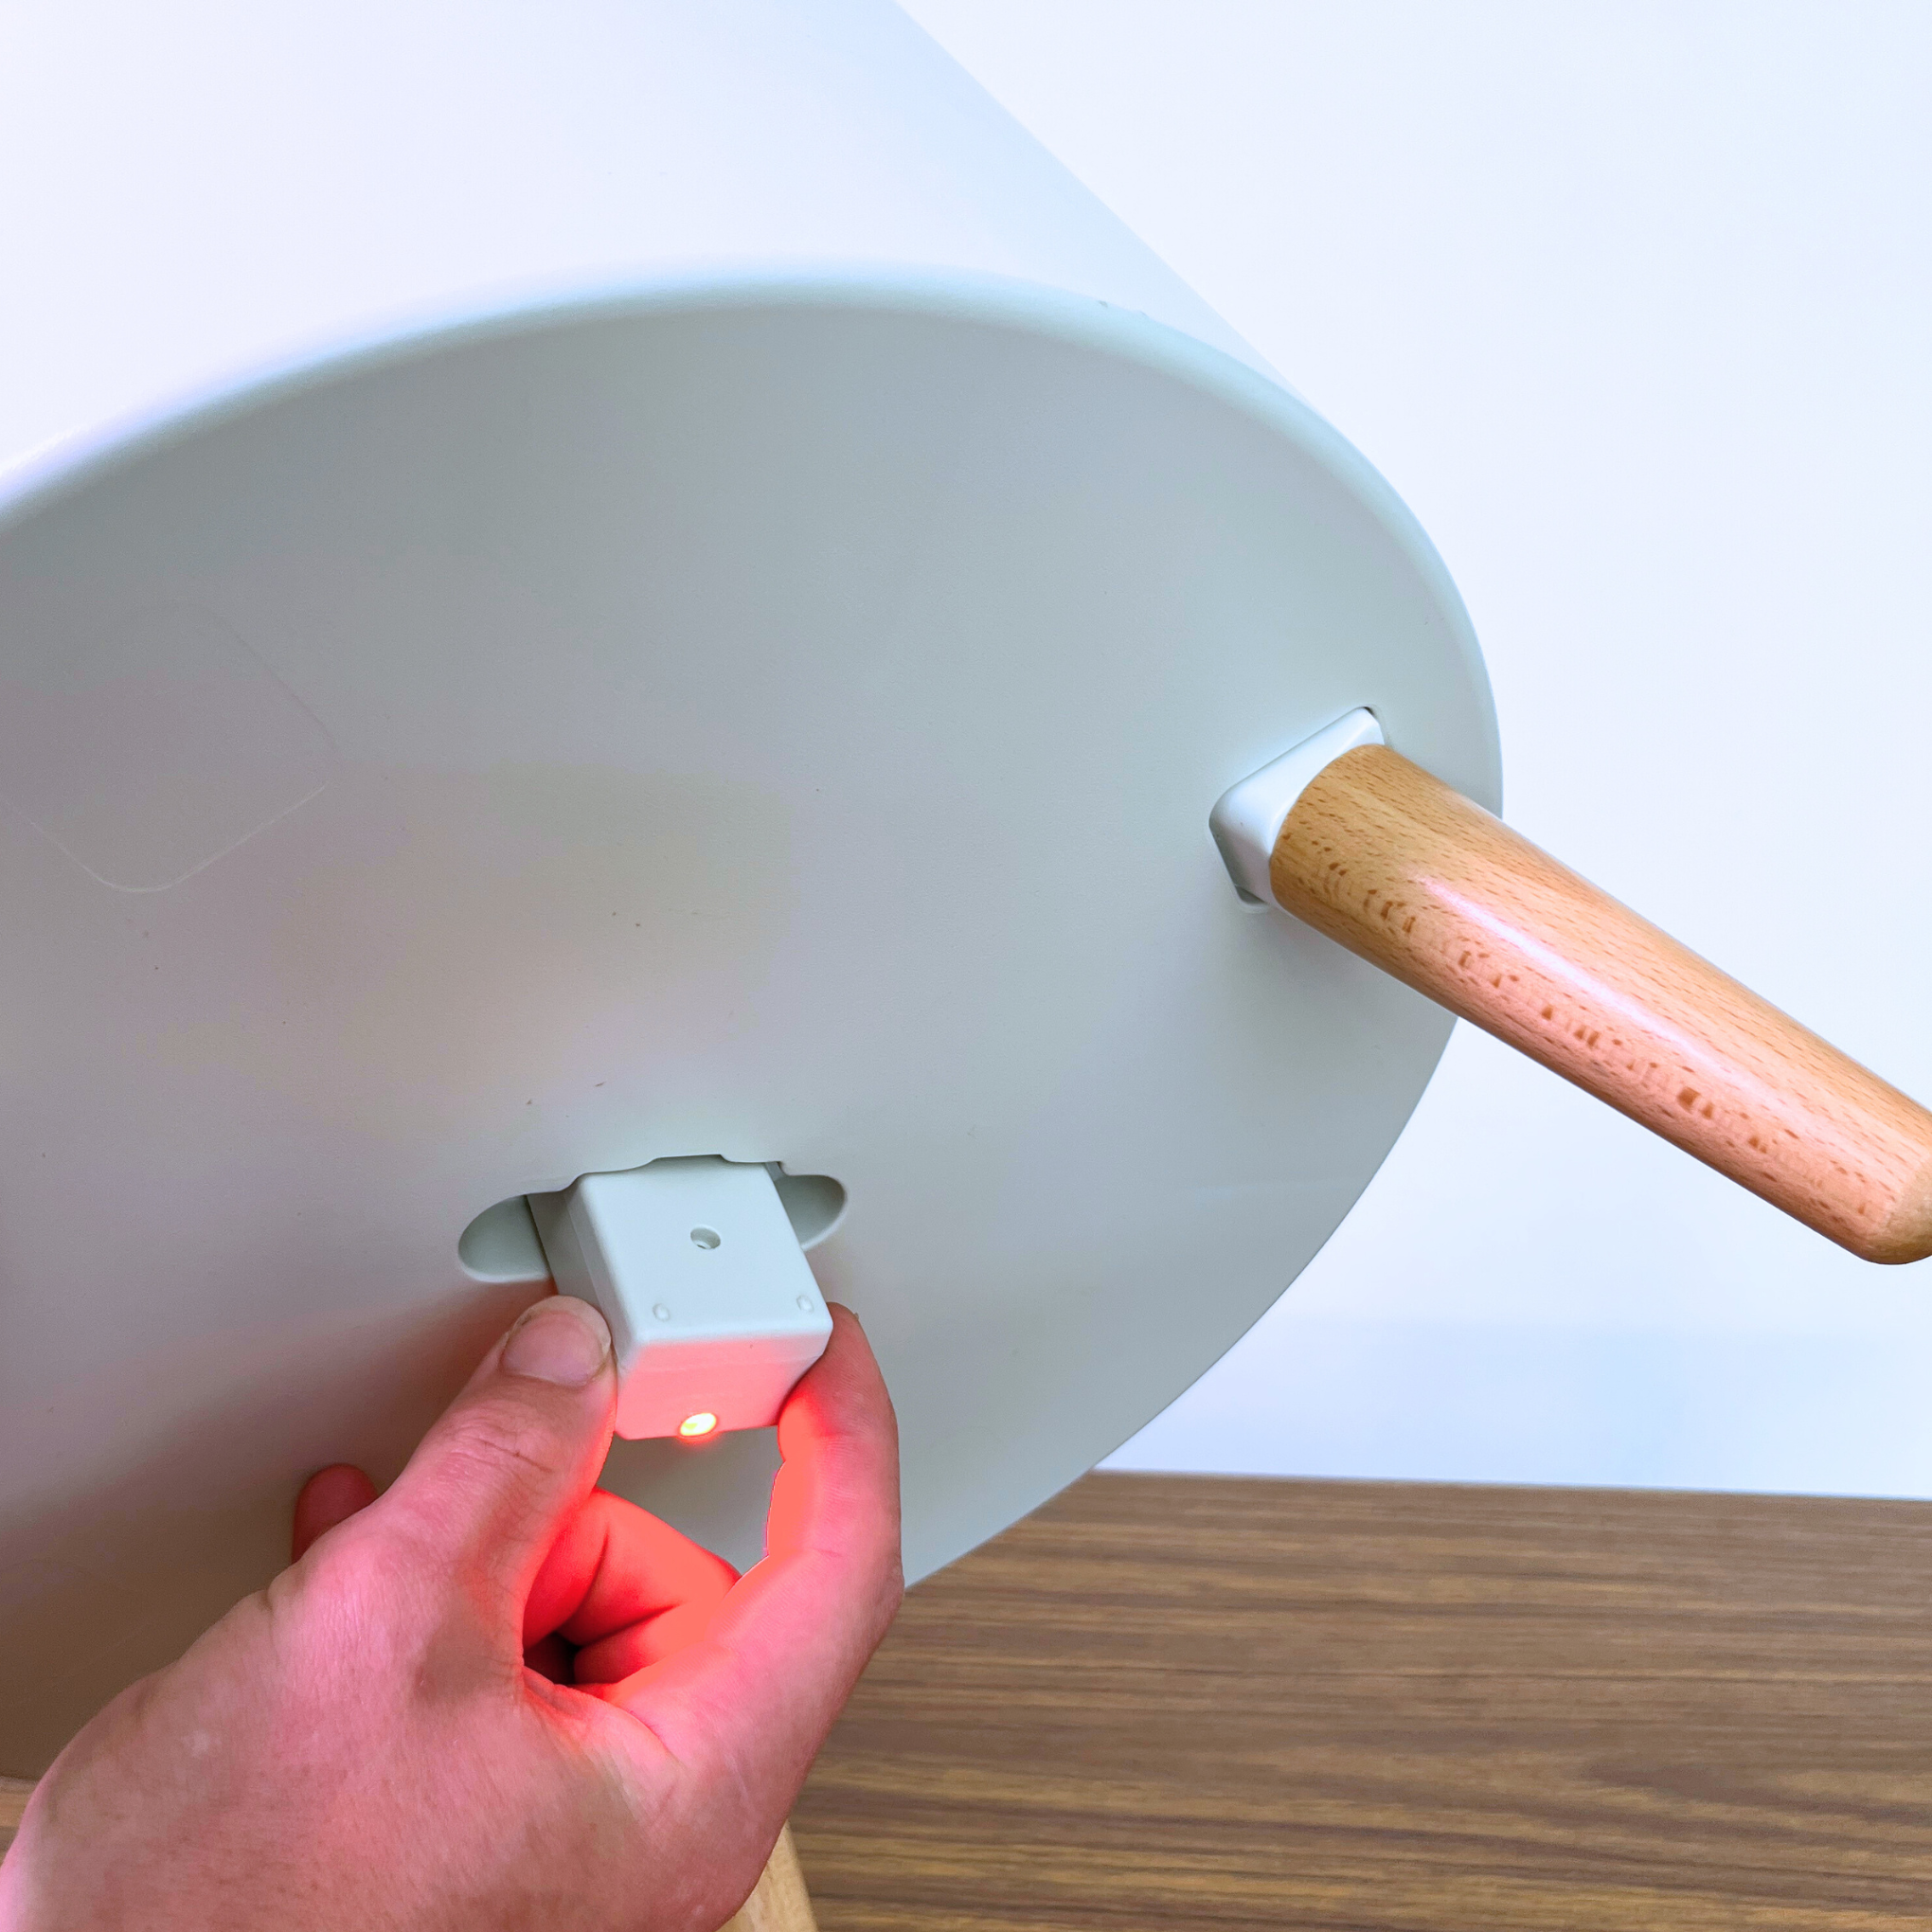
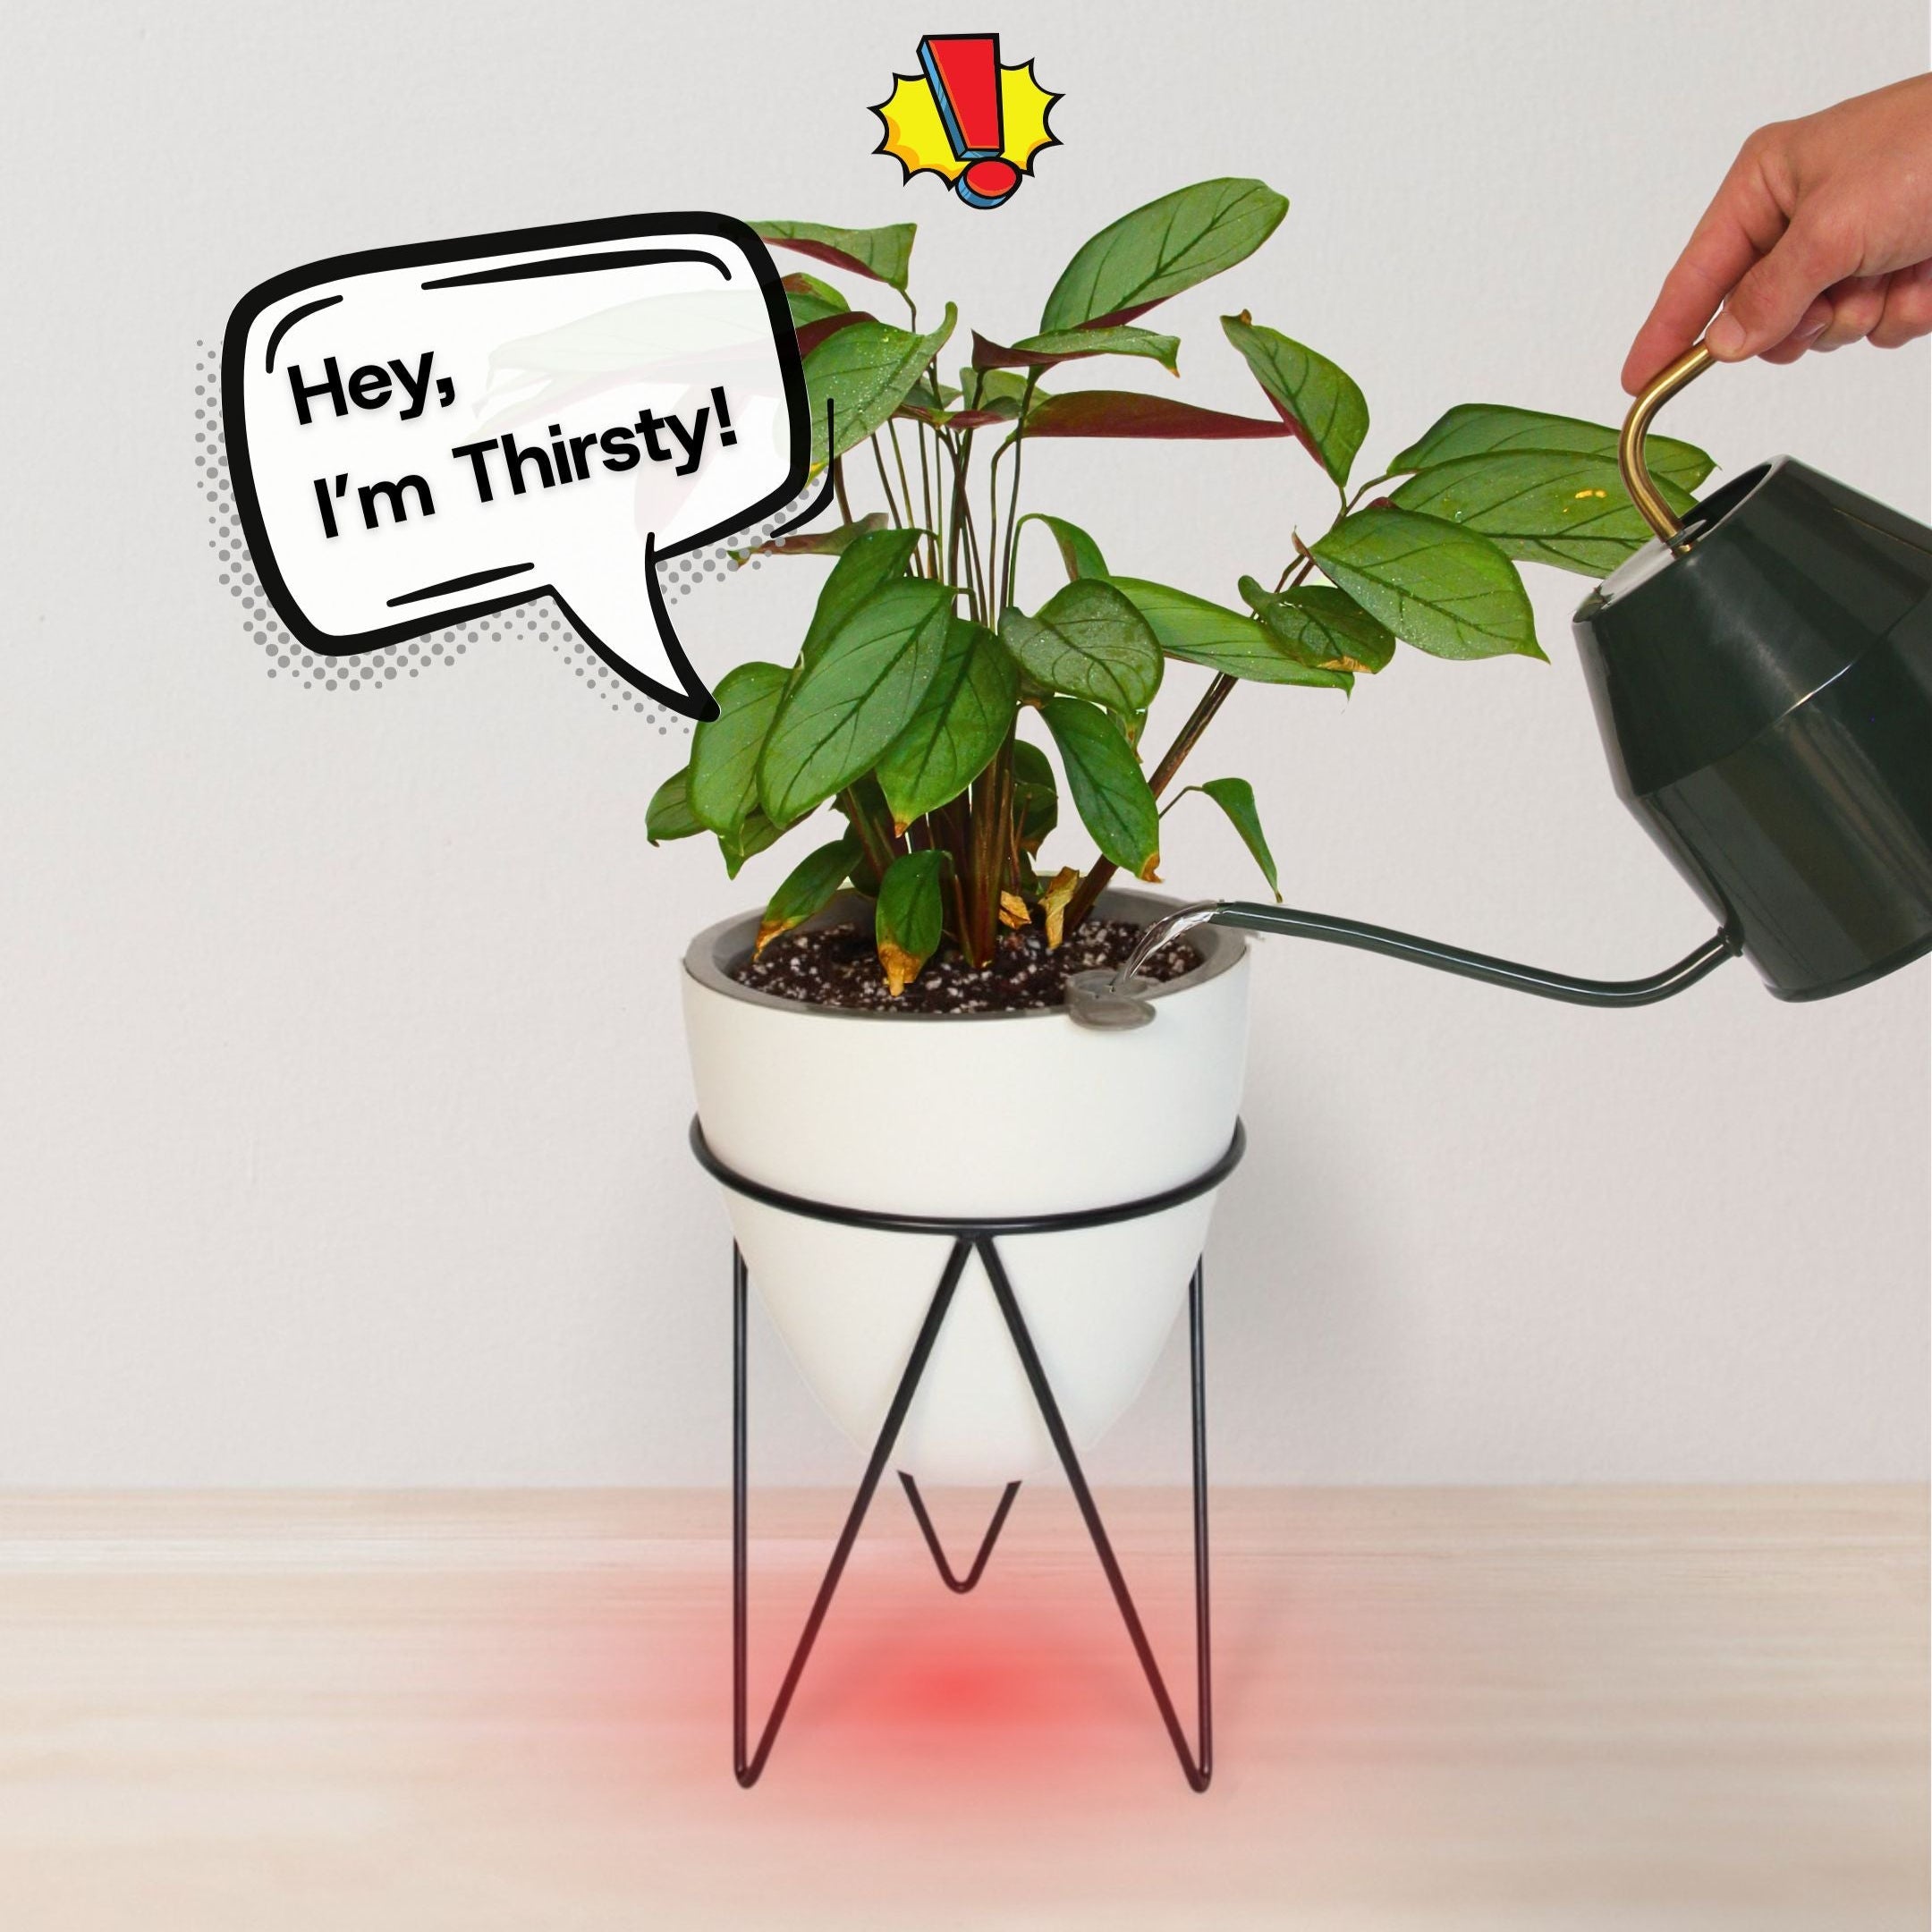
- When empty, your pot flashes red. As you add water, the flashing stops.
- Once it gives you a long red flash, that’s your signal it’s full.

Bonus: You can mix liquid hydroponic plant food right into the water for extra plant happiness. The wick system delivers nutrients directly to the roots.